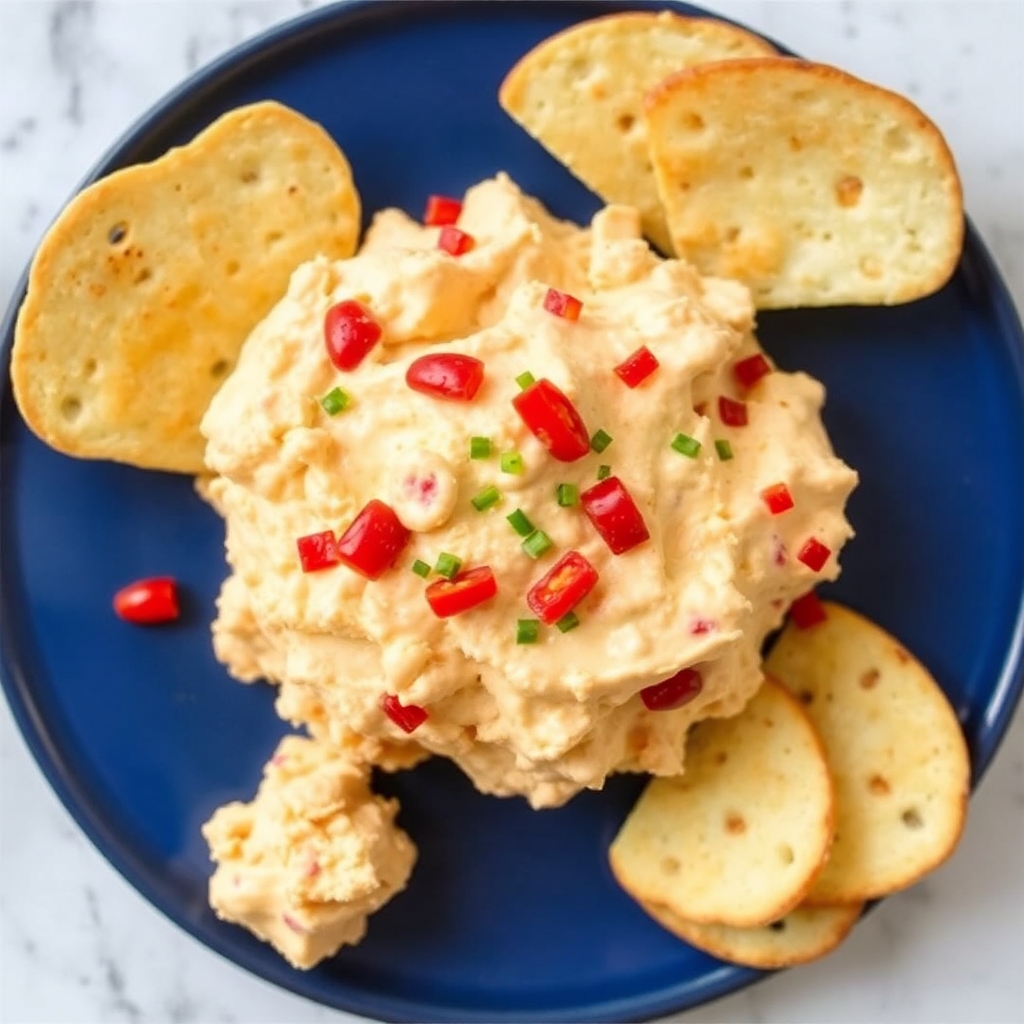
Perfect Cheat Snack For Cheese Lovers Fried Cheese Bites These decadent little bites are crispy on the outside and gooey on the inside; great for parties, game-night or just a night-in! There are so simple to make with your choice of boom of cheese and spice. In this guide, I will show you how to make homemade fried cheese bites, starting from the selection of the ingredients to the perfect frying process.

Ingredients
To yield around 24 cheese bites, you will need the following ingredients:
For the Cheese Filling:
- 1 pound of cheese (cheddar, mozzarella or whatever you have on hand)
- 1/2 teaspoon garlic powder
- 1/2 teaspoon onion powder
- Salt and pepper to taste
For the Breading:
- 1 cup all-purpose flour
- 2 large eggs
- 1 C breadcrums (Panko if you want extra crunch)
- 1 teaspoon paprika
- 1/2 teaspoon dried oregano
- Salt and pepper to taste
For Frying:
- Oil used for deep frying (amount depends on pan capacity)
For Dipping Sauce (optional):
- Marinara sauce
- Ranch dressing
- Spicy aioli
Method
Stage 1: Make the Cheese Filling
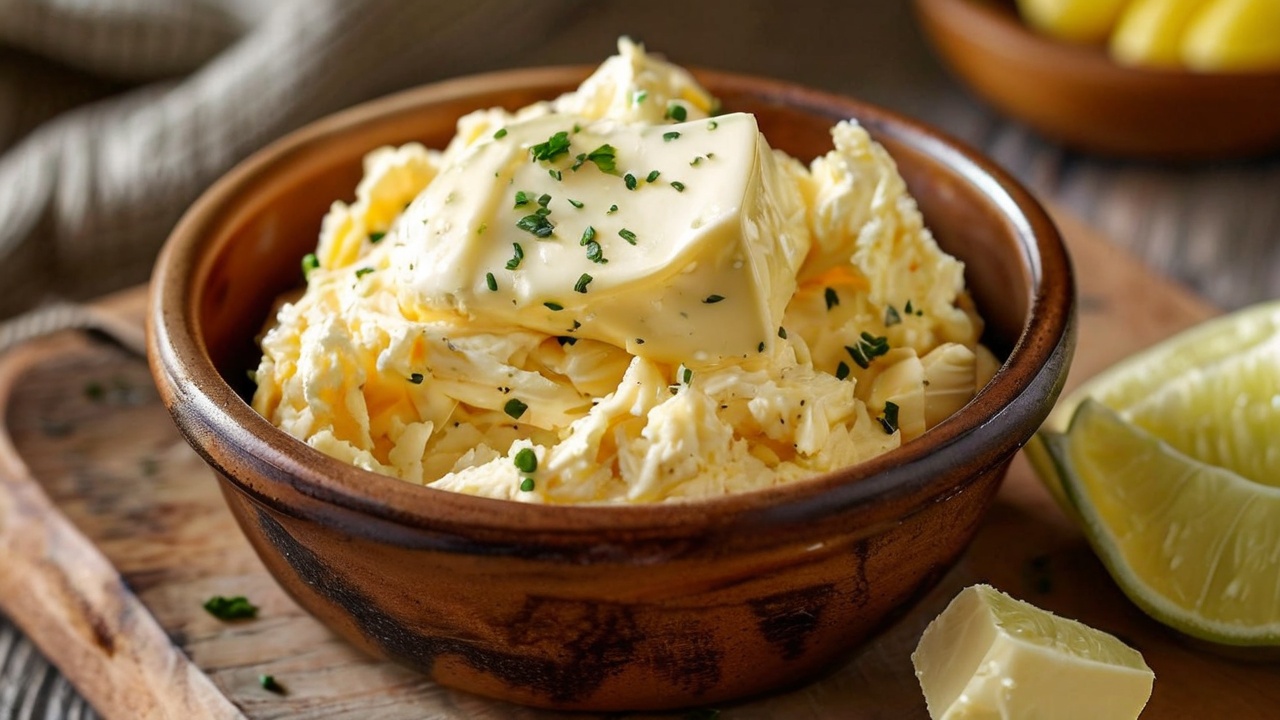
The cheesy filling is the beginning of your fried cheese bites. A single cheese or a mixture can be used for more complex flavors. The cheddar is sharp and the mozzarella is stretchy. Put the cheese either into a fine shavings or block it and cut it into small cubes If the cheese you are using is a softer one like mozzarella, you can freeze it for approximately 30 mins to make it easier to work with.
In a bowl, put the grated cheese and mix with garlic powder, onion powder, salt, and black pepper. This way, when combined with cheese each bite is an explosion of flavor. After well combined, set this aside.
Step 2: Form the Cheese Bites
Now you can shape your cheese bites. Using your hand, scoop out about 1 tablespoon of the cheese mixture and roll it into a ball. And in the case of cubed cheese, just squeeze the cubes into a tight ball. Make sure every ball is packed tightly because if its not, will have a bit of a trouble during frying. Transfer the shaped cheese bites to a plate or to a baking sheet lined with parchment paper.
Repeat the process till you have shaped out the entire cheese mixture into balls. You can make them as big or small as you want, but note that smaller bites take less time to fry and are easier to eat.
Step 3: Set Up the Breading Station
To get that great crunchy crust, you need a well laid-out breading station. Arrange three bowls in the following order:
1.Bowl : All-purpose flour, seasoned with salt and pepper.
2.Egg Wash: In the second bowl beat the two large eggs until combined. The egg wash acts as a glue for the breadcrumbs and cheese bites.
3.Breadcrumb Mixture: In the third bowl, stir together the breadcrumbs with paprika, dried oregano, salt, and pepper. That seasoned coating will give it more crunch, more flavor.
Step 4: Dip cheese bites in egg wash followed by breadcrumbs
Now we move on to breading those bites of cheese. Take one cheese ball and coat it in the flour mixture. Coat it directly into the flour, shake off any excess, then douse it in the egg wash and let any excess egg drip off. Finally, dip the cheese Cube in the crumb mix, pressing lightly to help the crumbs stick. Put the breaded piece of cheese back down on the plate lined with parchment paper making sure you not to squeeze out any of the breading.
Do this for all the cheese bites. After you have breaded them all, cool in the fridge for a good 15-30 minutes. This spooky step ensures that the coating sticks well and also reduces the risk of falling during frying.
Step 5: Fry the Cheese Bites
Once chilled, work on frying your cheese bites. Add vegetable oil to a heavy frying pan or pot to a depth of about 1 inch and heat to around 350°F (175°C). To check if the oil is hot enough, drop in a small piece of bread or a breadcrumb into the oil: if it sizzles and bobs then the oil is ready.
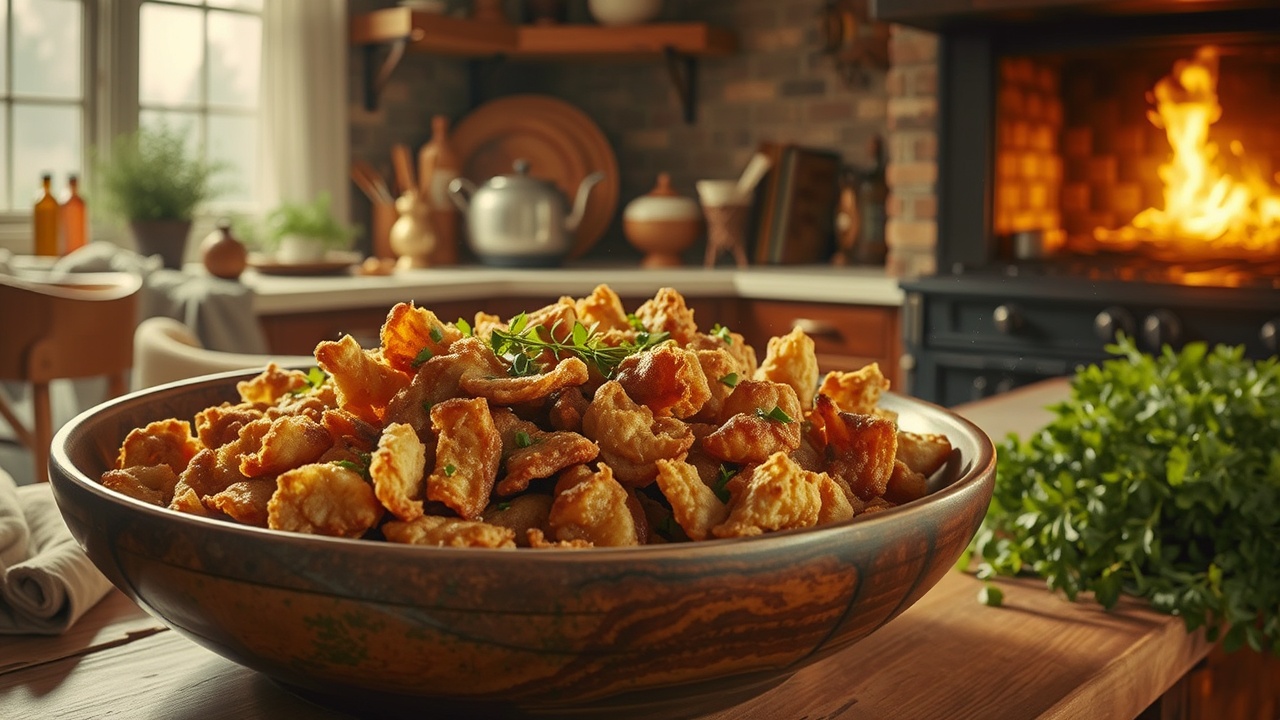
Then add the cheese bites to the hot oil, in batches if you find that you are crowding the pan. Fry for 2- 3 minutes or until they turn golden brown and crunchy. Turn them occasionally using a slotted spoon. After cooked, take out the cheese bites from the oil and set then on a plate covered with paper towel to soak paper towel oil.
Step 6: Serve and Enjoy
And there they are, your fried cheese bites now ready to serve! Serve them up on a platter along with the dipping sauces of your choice. Marinara sauce is a classic pairing, but ranch dressing or even a spicy aioli can work wonders with these bites.
What I love the most about these bites is that when eaten slowly piping hot and fresh, you are greeted with goodness of ooey gooey cheesy goodness where it pierces your mouth with a crunchy exterior. Ideal for splitting but do not be shocked if you want all of them for yourself!
Tips for Perfect Fried Cheese Bites
1.Cheese: Use a variety of cheeses for different flavor profiles. Combine mozzarella with cheddar or mix in some pepper jack for fun. Keep this in mind that, softer cheeses may need to sit in the fridge a little.
2.COATING: To achieve extra crispiness, give your cheese bites a double-dip. Batter them after the first round of breading in the egg wash and breadcrumbs and fry them.
3.Oil Temp: Making sure the oil is at the correct temperature is crucial to a successful fry! If the temperature is too low, the bites will soak up oil and be oily; too high, and the coating may burn off before the cheese melts.
4.Bake It: To make a healthier version of the cheese bites, bake them instead of shallow frying. Give them a light coat of oil and pop them on a baking tray at 200C for 15-20 minutes, flipping halfway, until they are crispy and golden.
5.DISHA: Storage if you have any Cheese Bites left (that hardly ever happens!) Keep them in an airtight container kept in refrigerator for a maximum of 2 days. They can then be reheated in an oven to restore crispness before serving them.
Creative Variations
Although the traditional fried cheese bite is tasty on its own, here are some takes to mix it up:
- Cheese Bites with Herbs: Add fresh herbs like basil or chives to your cheese filling for a fresh taste.
- Heat up cheese bites: Mix minced jalapeños or a splash of hot sauce into the cheese dough.
- Cheesy Stuffed Cheese Balls: bury a small piece of cooked sausage or pepperoni in the middle of each cheese ball to give it a meaty heart.
Conclusion
But homemade fried cheese bites are more than just a treat; they are a cuisine experience that automatically guarantees garnish every time you treat your guests. These little bites, with their crispy outside and warm cheesy inside are sure to wow your dinner guests & become a favorite in your snack arsenal.
Fried cheese bites are easy to make at home from scratch and can be made with whatever flavors and other ingredients you want. So, grab your ingredients, roll up your sleeves, and prepare to treat yourself to this cheesy delight any time of day. Savor each mouthful, and see how fast they go!

