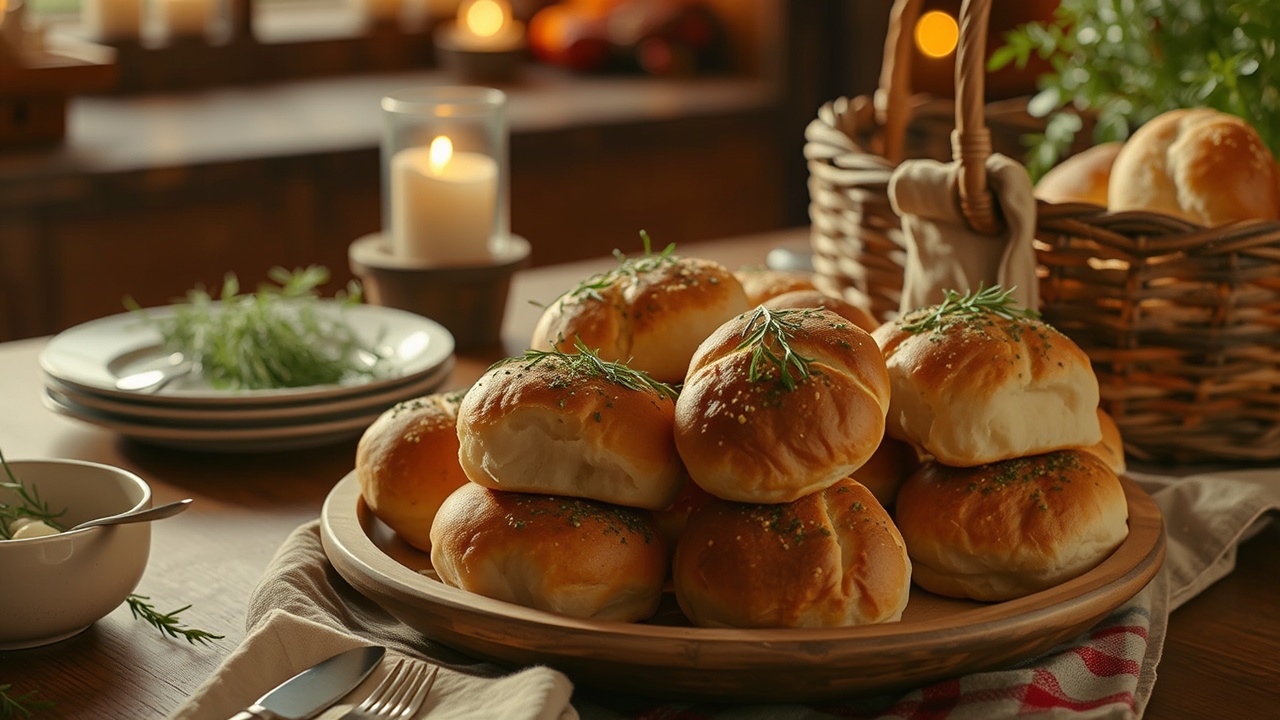
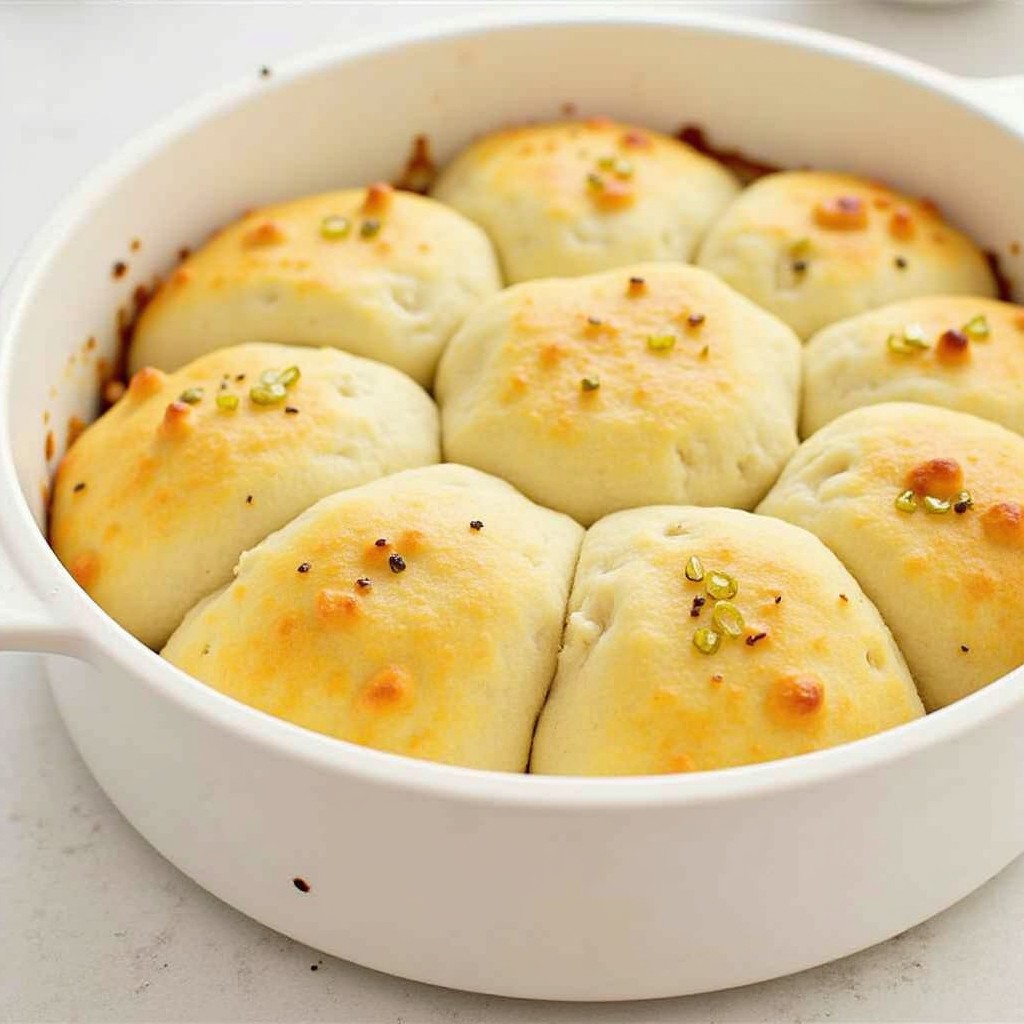
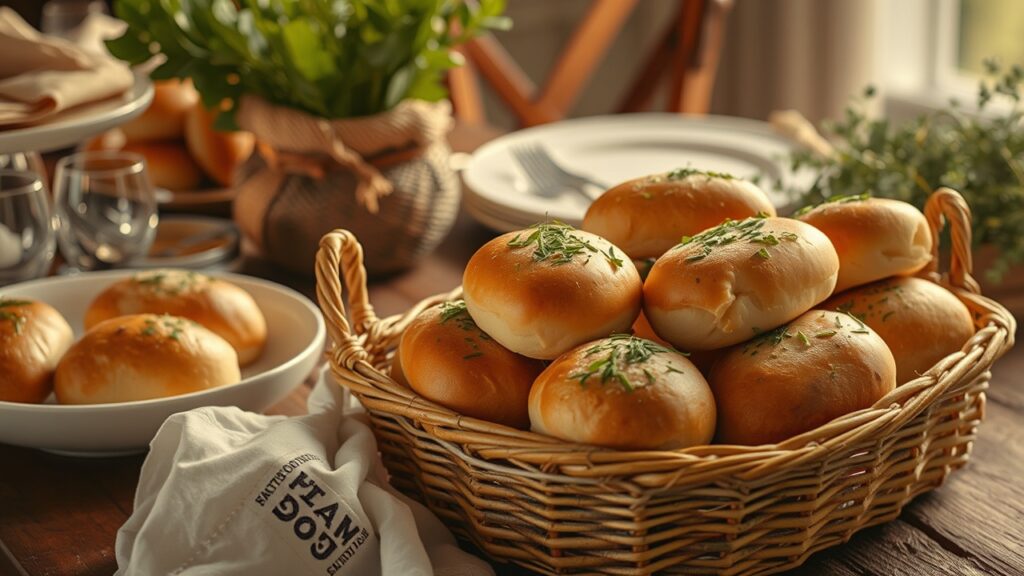
Nothing beats a fresh batch of brown and serve dinner rolls. Perfect with a holiday feast, family dinner or easy weeknight meal these golden brown, soft and fluffy rolls are the ultimate in comfort food! Brown and serve dinner rolls are super simple to prepare ahead of time then baked closer to serving time for that fresh from the oven taste and smell. Here we are going to go over how you can make these gorgeous sweet rolls, some ingredients that will be crucial in this process and some tips on how to succeed with every batch!
What Are Brown and Serve Rolls?
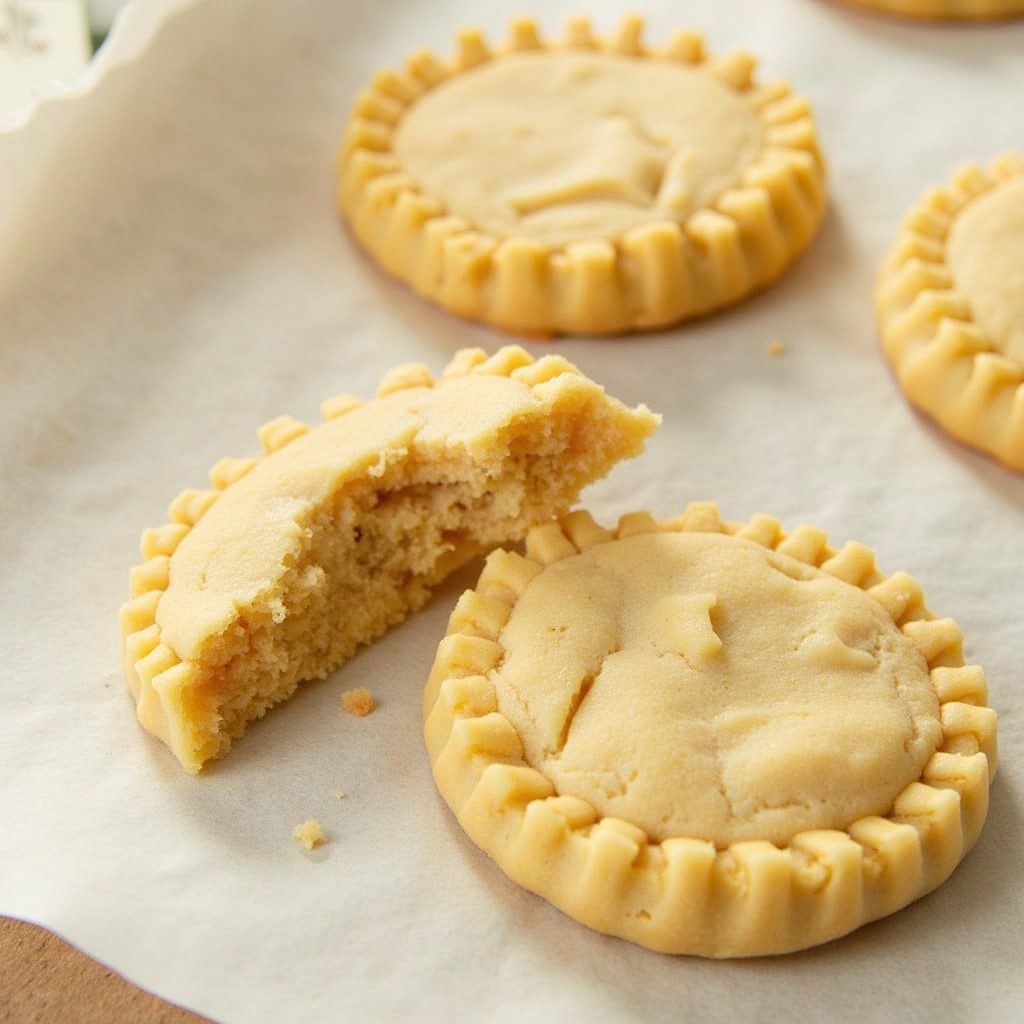
Brown and serve dinner rolls refers to a type of partially baked roll designed to be completed in the oven just before serving. These rolls are usually baked partway until the exterior is a mouthwatering shade of brown and still soft and doughy in the center. It lets you get a head start, store them in the fridge or freezer and then bake them off just before you’re ready to serve your meal for that fresh-from-the-oven taste without the mess. Ideal for the busy hostess, large groups or anyone who likes bread warm and fluffy at the table without having to make it from scratch.
Brown and serve rolls you make at home are so easy, and with the right technique, can be every bit as good as what you’d get from a bakery. Pair these rolls with any dinner, steering from savory roast meats and sticks meals to pastas and accompaniments.
Ingredients for Brown and Serve Dinner Rolls
Brown and serve rolls are relatively simple with common ingredients that you can grab at the grocery store. Here’s what you’ll need:
Ingredients:
- 4 cups all-purpose flour (plus additional for dusting)
- 2 1/4 teaspoons (1 packet) active dry yeast
- ½ cup (output warm ), milktemperture about 110 °F
- 1/4 cup warm water
- 1/4 cup sugar
- ½ cup butter (melted)
- 1 teaspoon salt
- Optional:1 egg (to use as wash)
- Melted butter for brushing (optional)
These simple ingredients combine to make a dough that will rise beautifully and bake up into soft, fluffy dinner rolls. The yeast gives it that lift, the sugar makes them yummy and add butter creates a buttery flavor for the perfect dinner roll that will please every one.
Method for Making Brown and Serve Dinner Rolls
Brown and serve rolls can be made in multiple simple steps. So whether you are a novice at baking or an experienced cook, this will easily walk you through the process. The secret is have the dough sit and grow to develop flavor, and making sure you bake the rolls enough but not too much for that perfect texture.
Step 1: Make the Yeast Mixture
First you are going to want to activate your yeast. In a small mixing bowl combine the sugar with the warm water and warm milk. Stir gently to dissolve the sugar, then sprinkle the yeast over the liquid. Allow it to steep around 5-10 minutes. You should see bubbles and foam form on the yeast, meaning that it is activated and ready to go. If there is no foam, your yeast is either dead or expired; you’ll need a fresh packet to start.
Step 2: Mix the Dough
Stir 3 1/2 cups of the all-purpose flour and the salt together in a large bowl. As soon as the yeast mixture is prepared, pour it into the dry elements. Stir in the melted butter and mix. Using a stand mixer (with dough hook attachment) or your hand, knead the dough as it begins to come together. Then slowly incorporate the rest of the flour, in small amounts, until you have a dough that is smooth and is just slightly sticky — but manageable!
Kneading is a crucial step since it helps to form the gluten in flour which will create structure for your rolls. If doing it by hand, continue for around 8-10 minutes. Using a stand mixer, knead the dough on medium speed for 5-7 minutes. The dough should be elastic and smooth without being sticky.
Step 3: Let the Dough Rise
Knead it again and shape it as a ball and transfer to a floured bowl. Place a clean kitchen towel or plastic wrap over the bowl and let it rise for 1-1.5 hours, in a warm place till the dough has risen double. If, instead, you need to make the rolls in advance, you can leave the dough at this point and pop it in the fridge overnight to rise.
Step 4: Shape the Rolls
When the dough has doubled in size, then punch it down. Dump out the dough – use a little flour if it is sticky, and cut into 12 equal pieces. Take each portion and roll it into a little ball by cupping your hands around the dough to roll between palms. Grease a 9×13 inch baking dish and arrange the dough balls in it tightly together without touching.
Step 5: Let the Dough Rise Again
Loosely cover the formed rolls with plastic wrap or a clean towel and set it aside to puff up again for about 30 minutes to 1 hour, until the buns puffed and nearly doubled in size. This second-rise is what gives you that soft, fluffy interior your love in a fresh dinner roll.
Step 6: Partially Bake the Rolls
The rolls, at this point, are ready for partial baking. Step 1: Preheat the Oven to 350°F (about 175°C) Pop the tray into the pre-heated oven, and bake for 10-12 minutes, until golden brown on top but still slightly underbaked in the middle. What we are looking for here is to get the outside cooked enough that it forms a crust and the inside remains soft, doughy. Once they are baked, you take them out of the oven, and let them cool down all the way.
Step 7: Store the Rolls for Later
Once cooled, you can keep the rolls in an airtight container in the fridge for 3 to 4 days or freeze them if you want longer preservation. If freezing, place rolls in resealable or air-tight container. You can bake them directly from the fridge or freezer when you are ready to serve them.
Step 8: Finish Baking Before Serving
For the rolls to fully bake and bring that baked-from-the-oven taste, preheat your oven at 375°F (190°C). Optional: brush the rolls with melted butter, bake for an additional 5-7 minutes or until golden brown and baked through. Baking the rolls a final time / that last baking step is simply to make sure the rolls are warm, fluffy and ready to enjoy with your meal.
Tips for Perfect Brown and Serve Rolls
- Use the Correct Yeast: These rolls turn out best with active dry yeast. With instant yeast, you add it directly to the dry ingredients and don’t need to proof in liquid.
- Keep the temperature right: Ensure that when activating yeast, any liquids used are warm — but not hot. These can kill the yeast and prevent your dough from rising when they are too hot.
- Less-Potentially To Superimpose the Rent: Don When Kneading-Reject This Tense-Floride Dense Rolls By Overworking The Dough, So Be Aware Not To Overwork The Spread While Its Spontanes And My Dental Making Different Size And Watering 🙂 You really just want to knead it until its smooth and elastic.
- Freezing for Later: you plan on making these for make-ahead meals, then these rolls are perfect. Instead of putting them in the oven after the second rise, put them in the freezer. Bake them directly from frozen (giving the baking time a couple of extra minutes) when you want to serve.
- For added zest: Use minced garlic; or rosemary or thyme in the dough to really kick up your dinner rolls a notch.
Serving Ideas for Brown and Serve Dinner Rolls
A brown and serve is a good roll to have with, really, just about any meal, ranging from an everyday dinner to a holiday feast. Enjoy them with a hearty bowl of soup, such as creamy tomato or chicken noodle, or alongside roast turkey, chicken or beef. They are also perfect for serving as an accompaniment to pasta dishes or enjoyed on their own as an appetizer with a bit of butter. Even with salads dipping in one of your favorite dressing or vinaigrette.
Conclusion: Easy, Delicious, and Always Ready
Brown and serve dinner rolls are an ideal option for anyone who loves warm-fresh bread but neither wants to spend countless hours from scratch baking. You can have warm, soft fluffy rolls that are the perfect accompaniment to any meal by planning a little in advance. With the fool proof method described above, you can make restaurant-style dinner rolls at home to delight your family and friends. These rolls are an easy, tasty and crowd-pleasing choice for hosting a holiday dinner or just elevating a weeknight meal.

